This function allows the creation of a CSV file via an SQL query and to schedule the output to happen automatically. If you want to perform an
export of users and their balance to a CSV to be used by a third party, you will be able to.
How to create an export
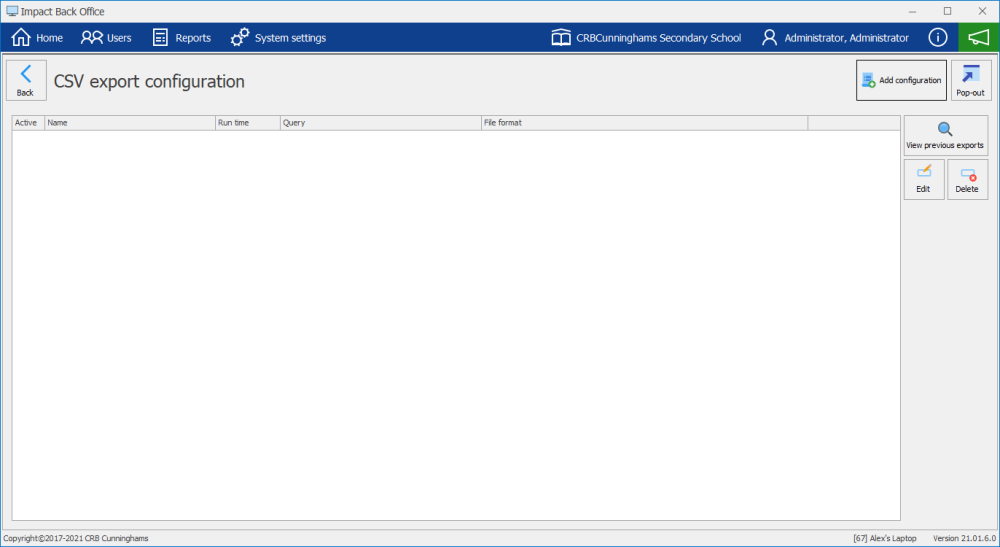
- Click the CSV export button.
- You will now see the CSV export configuration.
- Click the Add configuration button.
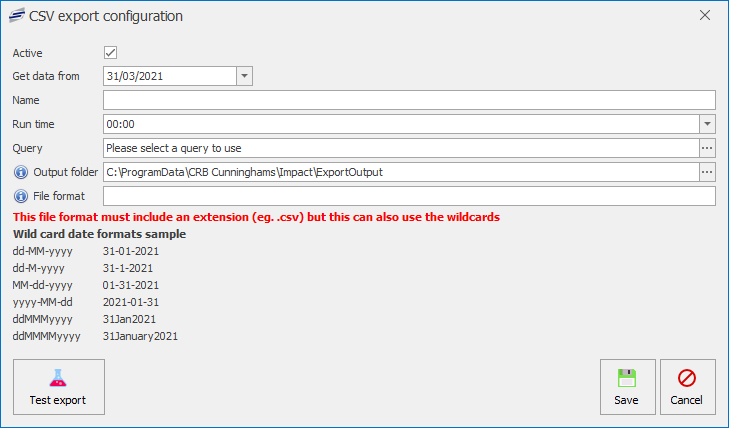
- Fill out the information for the configuration.
| Field | Description |
|---|---|
| Active | Set the export to be active or inactive by ticking or unticking the box. |
| Get data from | This is the date that the system will get transaction data from. This will default to the current date. |
| Name | Specify a useful name for the export so people understand this in the future. |
| Run time | The time the output will be performed. Ideally set for after the school canteen has finished serving for the day. |
| Query | Select a query or create a new query, click the ellipses. See the Query section for more information regarding this Click here. |
| Output folder | The location where the files will be output. This folder MUST exist on the same machine as the Fusion Data Server. |
| File format | This is the name of the file. This allows for wild cads. This allows the file name to be dynamically set based on these wild cards. You want each file to have a unique name so that there are no clashes. So with a multi-school system, you may want to do something like ‘Saffron-[schoolid]-[date:yyyymmdd].csv’ which will output something like ‘Saffron-12-20200920.csv’. |
- Click the Test export button. This will not output the file to the output folder. You will be asked to select a directory for the file to be output.
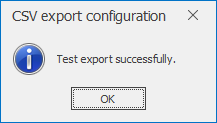
- Click OK to confirm the test.
- Click Save to add the CSV export.
Editing a CSV export
- Select an export from the grid. This will highlight the record in blue.
- Click the Edit button.
- Edit the relevant fields.
Deleting a CSV export
- Select an export from the grid. This will highlight the record in blue.
- Click the Delete button.
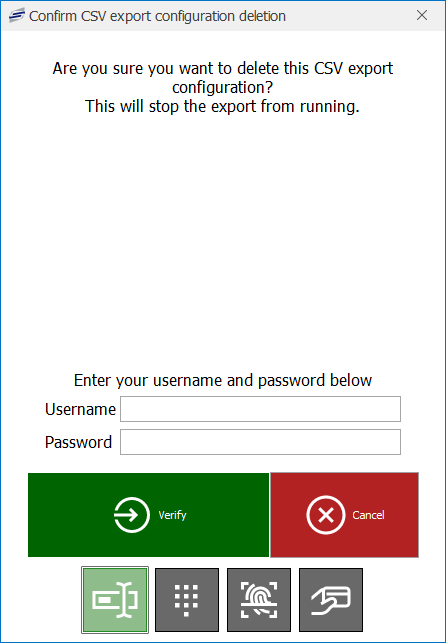
- Enter an admin username and password to verify the deletion of the CSV export record.
- This will delete the record from the grid.
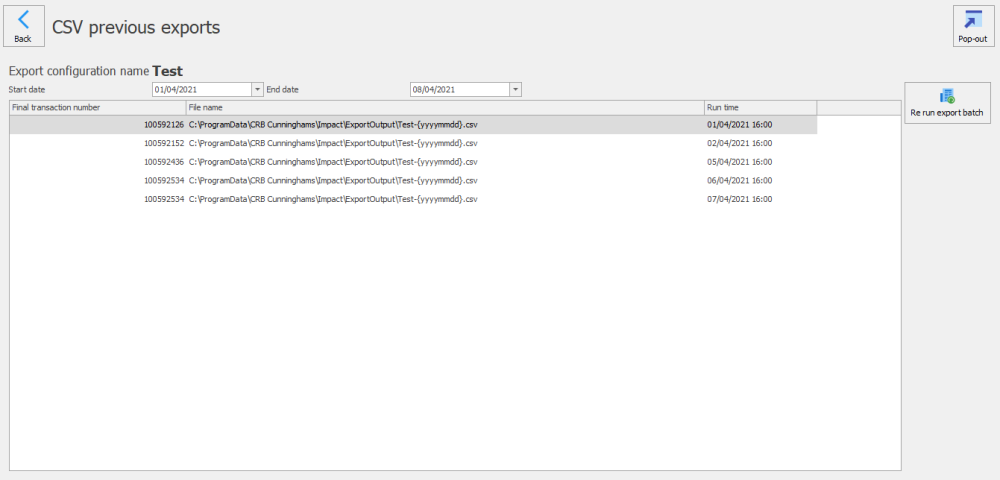
Viewing previous exports
- Select an export from the grid. This will highlight the record in blue.
- Click the View previous exports button.
- This will display a list of the selected records exports created from the first date to the present. You can amend the Start date and End date.
Last modified:
19 July 2022









Post your comment on this topic.