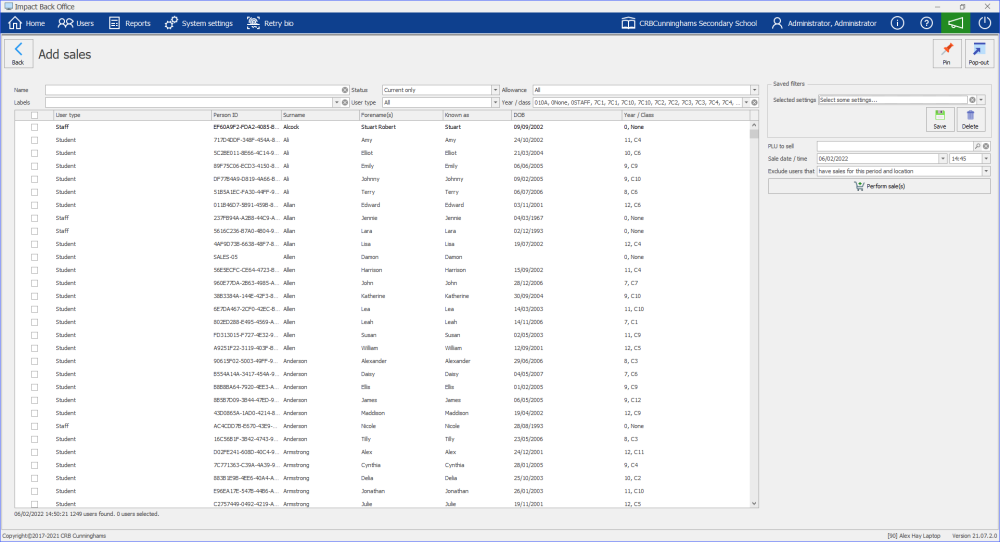
The Add sales or “Family dining” function allows schools to provide a set meal choice for all users, and to charge the users without the user being required to go to a Point of Sale.
How to use Add sales
- Select the users you wish to sell to. The grid can be filtered using the filters shown below. When the desired users are displayed, the users can either be selected individually or all can be selected using the check boxes on the left hand side of the grid.
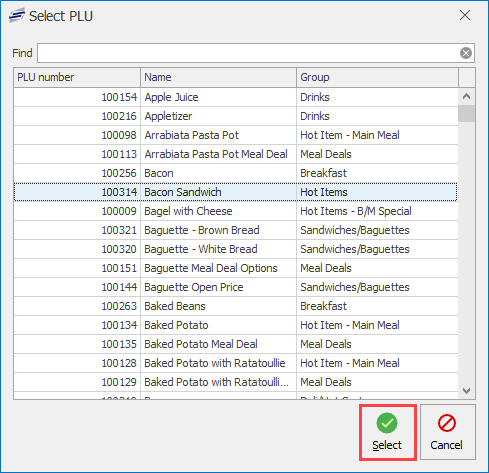
- Select the PLU you wish to sell. This is done by clicking the magnifying glass next to PLU to sell and then selecting a PLU from the list that pops up by clicking on the chosen PLU and pressing the green Select button.
- Configure the sale time if required. This can be edited to allow the transaction to have occurred during a certain time period.
- Set any exclusions if required using the drop down menu. This allows the prevention of a user being charged again if they already have sales for the selected period.
- Press the Perform sale(s) button. A dialog box will be displayed confirming the action, press Yes to complete the sales.
Saved filters
Filters can be saved and reused to speed up the process for future uses.
To save a filter:
- Select the filter options from the quick filter and the PLU to sell.
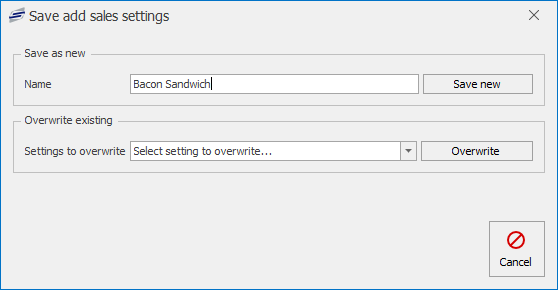
- Press the Save button under the ‘Saved filters’ section in the top-right.
- Either give the filter a name and save as new, or select an existing filter to
overwrite.
To use a saved filter:
- Select the filter from the dropdown menu in the Saved filters section on the right hand side of the screen.
- Select users and complete the sale as usual.
Last modified:
29 October 2024


Post your comment on this topic.